VSCode and HTML
Before beginning this tutorial, please review Laurel Schwulst's Basics of HTML video:
To begin creating our website for our final project, we will be learning about editing our p5 project in Visual Studio Code, as well as the essentials of creating a website with Hypertext Markup Language (HTML). HTML is the language of the internet - it is the standard language to create and structure websites.
You can see the HTML of any given website by navigating to the developer tools section of your given web browser:
For example, in Chrome I can navigate with Right Click > Inspect to explore the underlying HTML of any website.
Downloading p5 folder
To begin creating our own website, we’ll first need to download the p5.js sketch we have been working on.
To download your p5 project:
- Navigate to file > download
- Unzip the downloaded project folder (Right-click > extract all on Windows, Double-click on MacOs)
You can optionally rename your project folder to the name of your project:
Open Project in VSCode
To open project in VSCode:
Navigate to File> Open Folder > Select your p5 project folder
Components of a p5 Project
When looking at our p5 project, we notice that it made up of at least 4 if not 5 files including the p5 sound library:
index.html- the base structure of our websitestyle.css- the styling of our websitesketch.js- our p5 sketch as a JavaScript filep5.js- the p5.js libraryp5.sound.min.js- the p5 sound library
Within VSCode we can continue to edit all of these files in our local computer. While p5 provides a web based integrated development environment (IDE) we can use VSCode as an IDE to work on our files locally, especially if we are managing much larger files or large amounts of content.
Visualizing Site with Live Server
Live Server is an extension to VSCode that will allow you to view your webpage in your browser.
You can install Live Server by navigating to Extensions > Searching for Live Server > Press Install.
You can launch your website by using the Go Live button in the bottom left corner of your VSCode window.
Structure of an HTML Document
When opening our p5.js project folder, we should see an index.html file that contains the following code:
<!DOCTYPE html>
<html lang="en">
  <head>
    <script src="https://cdn.jsdelivr.net/npm/p5@1.11.10/lib/p5.js"></script>
    <script src="https://cdn.jsdelivr.net/npm/p5@1.11.10/lib/addons/p5.sound.min.js"></script>
    <link rel="stylesheet" type="text/css" href="style.css">
    <meta charset="utf-8" />
  </head>
  <body>
    <main>
    </main>
    <script src="sketch.js"></script>
  </body>
</html>
Document Type
The <!DOCTYPE html> section describes what type of document we are trying to create. In our case, we are making an HTML5 document.
Language
The <html lang="en"> section describes the language that we are using for the document. In our case, this is english (en)
Head
HTML is made up of different elements. The head element, describes metadata about the page we are making. This is not displayed on our webpage but is used to describe parts of our page and pull in resources.
In our case, we see the following code:
  <head>
    <script src="https://cdn.jsdelivr.net/npm/p5@1.11.10/lib/p5.js"></script>
    <script src="https://cdn.jsdelivr.net/npm/p5@1.11.10/lib/addons/p5.sound.min.js"></script>
    <link rel="stylesheet" type="text/css" href="style.css">
    <meta charset="utf-8" />
  </head>
<script>this element is used to bring in our p5.js library as well as our p5.js sound library<link>this element is used to bring in our Cascading Style Sheet (CSS), or the styling of our website.<meta charset="utf-8" />this element is used to let browsers know how to display characters correctly for our page
Body
The <body> element of our site contains all the visible information of our page. This is where we can create text, image, and other elements. This section also currently displays our p5.js sketch.
Within this <body> element, we can see a <main> element. This <main> element appears to have no information attached to it and is just a blank element, however, by default, our p5.js sketch is attached to this main element. The position of this <main> element will determine the location of our p5.js sketch on the page.
Within the <body> element, order matters. Elements at the top of our body will be, by default, drawn at the top part of our webpage. This will be complicated when we start creating styling for our site, however, it is still good to remember that within our HTML code, the order of our elements affects their appearance on our page.
Lastly, the <script> element our <body> contains our p5.js sketch that is being linked back to our sketch.js file. The location of the <script> does not matter as our sketch is being displayed through our <main> element.
Creating HTML Elements
There are a variety of HTML elements that we can use to add information to our page. Some common ones include:
<h1>This creates a header for our site. We can create a header a smalla as<h6>which will be of different sizes by default.<p>This element can be used to create a paragraph on our site.<a>This element can be used to create links to different sites and internal pages.<img>This element can be used to add an image to our site.<iframe>this element can be used to add a viewport of another site into our current site. Iframes are often used to link video from a video streaming site.<div>This element is used to define a block or a section of our site. This element is most often used when laying out our site using css.
All elements begin with <> brackets with the identifying name of the element such as p for paragraph <p>. To end the element you can add a slash / before the identifying name. Information for the element can be written between the opening and closing statement such as: <p>Hello</p>
Header
Example:
Paragraph
Example:
 <body>
    <h1>My Website</h1>
    <main></main>
    <script src="sketch.js"></script>
    <p>This website contains my p5.js sketch as well as a collection of other information.</p>
  </body>

Links
To create a link using the <a> element within HTML, the chosen external or internal webpage to be linked is described using the keyword href or hyperlink reference within the opening carrot brackets. The text within the elements is the text that will be hyperlinked. Since links are inline elements, it is best to put them within a block element such as a paragraph or a <div> element.
Example:

<body>
<h1>My Website</h1>
<main></main>
<script src="sketch.js"></script>
<p>This website contains my p5.js sketch as well as a collection of other information.</p>
<a href = "https://code.vinnyroca.info/"> Link to code and Media Art Website!</a>
</body>
Images
The <img> element can be used to add images to our website. The location of an image is described using the keyword src. Typically our source will point to an image with an images folder in our site folder. alt is used within the openning carrot brackets to provide alternative text for the image.
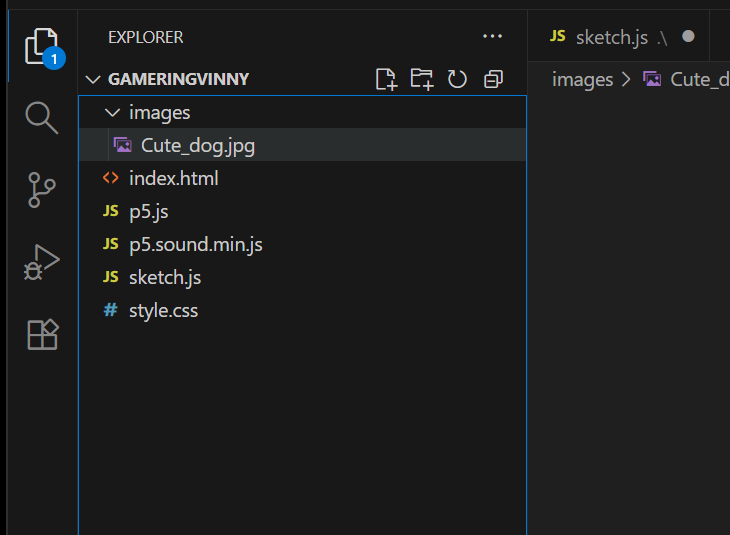
To make new folder in VSCode:
Right click in EXPLORER > Press New Folder
You can then either drag your images into your folder in your file browser or drag them from another folder into your images folder in vscode.

Image courtesy Wikipedia.
In your index.html file, you can then use this path to your image as your source. Just like link elements, images are inline elements and should be placed within a <p> or <div> element:
<p>
<img src = "images/Cute_dog.jpg" alt = "Photograph of Cavalier King Charles Spaniel puppy below a flowering bush"></img>
</p>
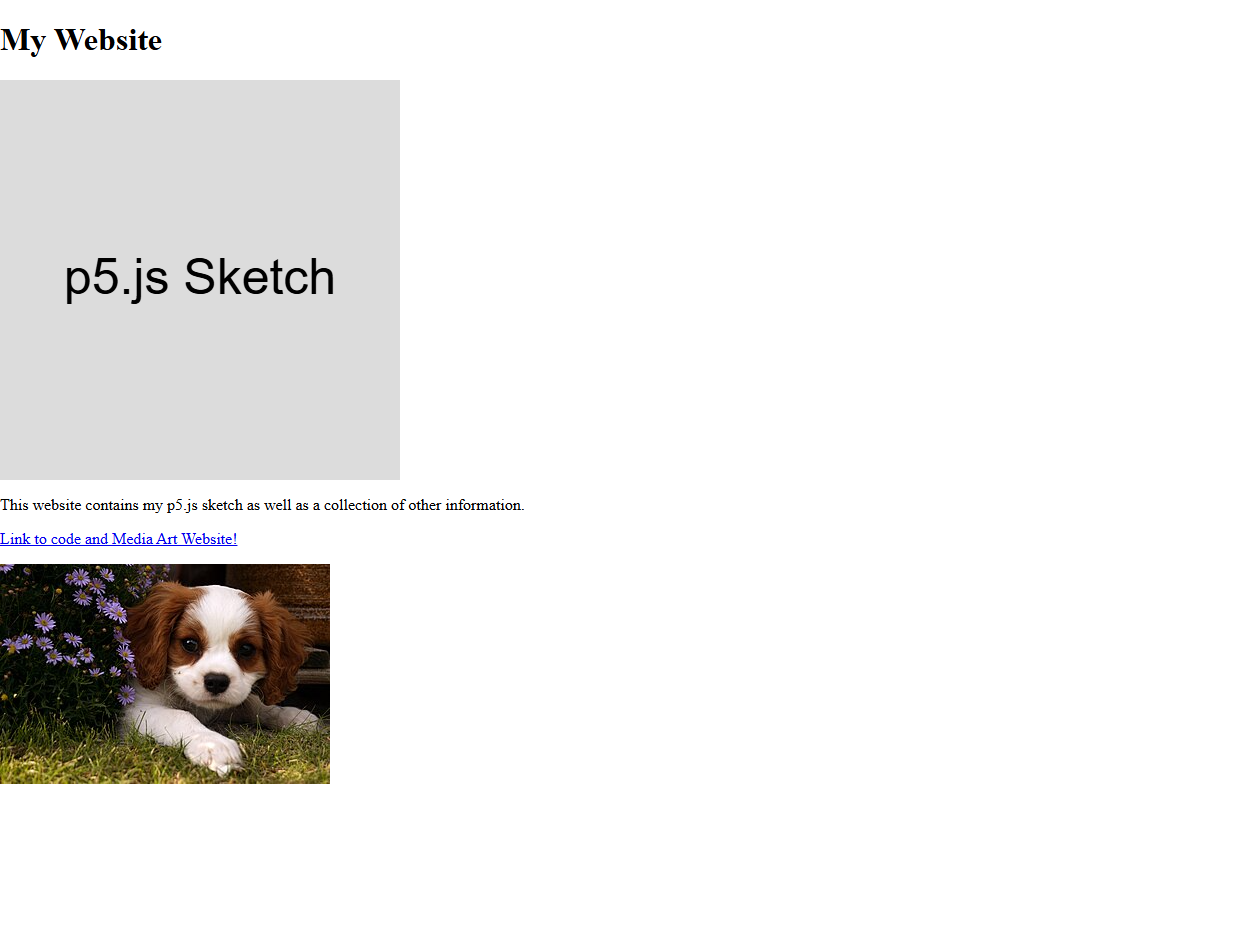
<body>
<h1>My Website</h1>
<main></main>
<script src="sketch.js"></script>
<p>This website contains my p5.js sketch as well as a collection of other information.</p>
<p>
      <a href = "https://code.vinnyroca.info/"> Link to code and Media Art Website!</a>
</p>
<p>
<img src = "images/Cute_dog.jpg" alt = "Photograph Cavalier King Charles Spaniel puppy below a flowering bush"></img>
</p>
</body>
Iframes
<iframe> or inline frame, allows us to embed another HTML document into our site. This acts as a window into another webpage. One of the most common uses form <iframes> into pull in a video from another website. For example, we can embed a Youtube video into our website by navigate to a youtube video and pressing on share, then embed, then copy the embed iframe code:
<iframe width="560" height="315" src="https://www.youtube.com/embed/EKXFj2WbppA?si=gntXr7p8DS5nXfPX" title="YouTube video player" frameborder="0" allow="accelerometer; autoplay; clipboard-write; encrypted-media; gyroscope; picture-in-picture; web-share" referrerpolicy="strict-origin-when-cross-origin" allowfullscreen></iframe>
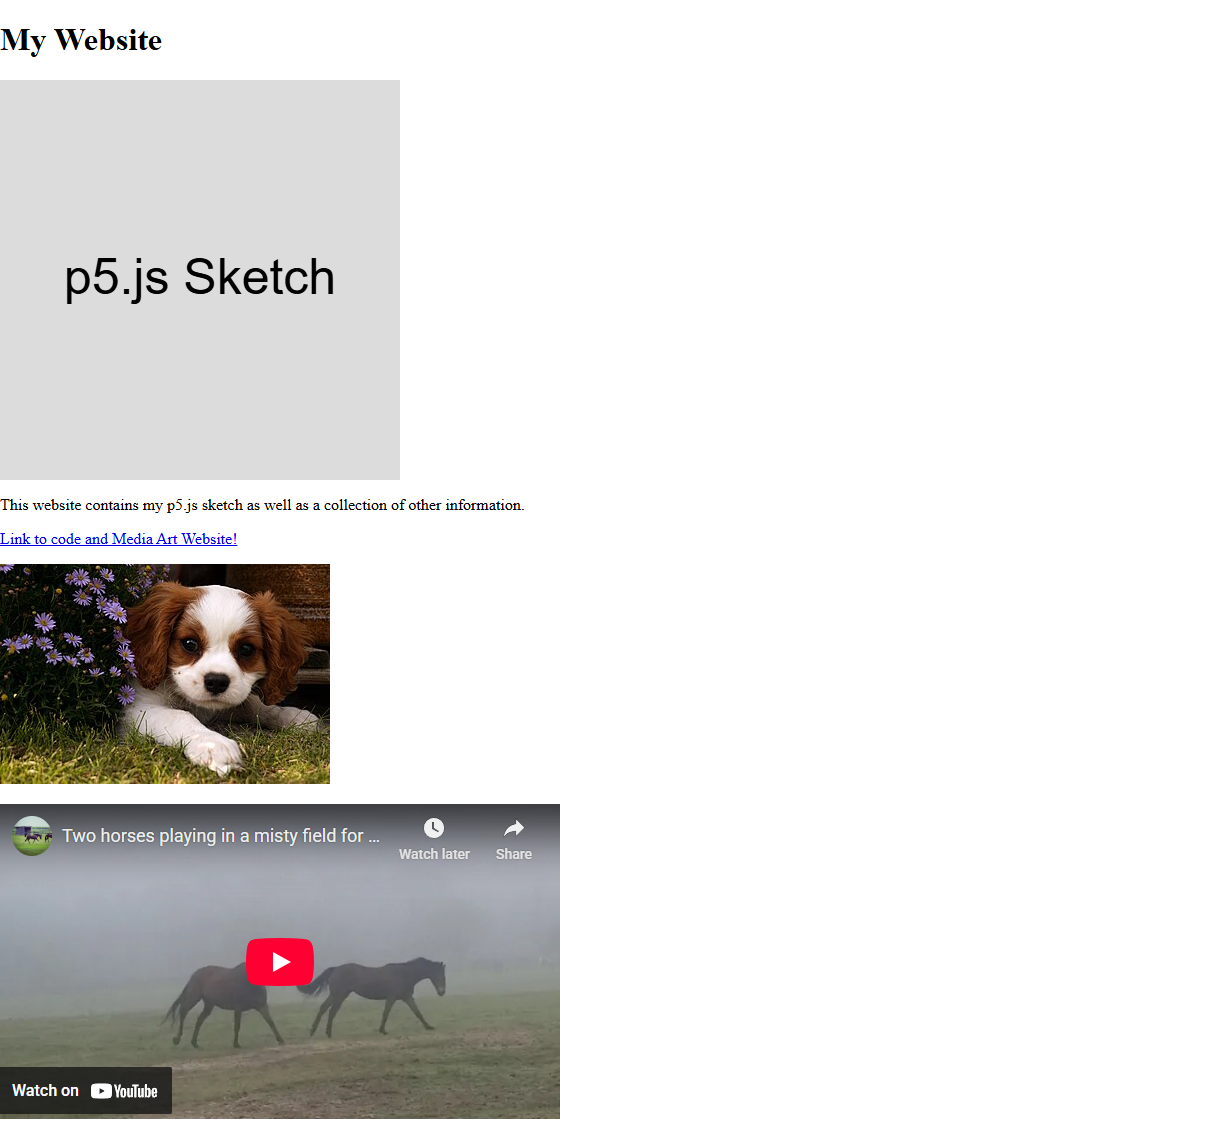
The iframe code will contain information about the height and width of our iframe as well as a src link to the original video.
Other HTML Elements
Other HTML elements can be found by searching the HTML elements reference in the Mozilla documentation