CSS
We can use CSS to create rules that structure the display and layout of our html elements. Writing CSS involves choosing a selector such as an html element name and making rule declarations for that selector.
For example, if we wanted to make all or our <h1> elements red, we could write;
color and assign it the value of red red. We use a colon : to assign a property a value. Declarations ends with a semicolon ;.
Linking our CSS
By default, after downloading our p5.js project, our CSS file, style.css is linked in our index.html. We can see this link in our <head> element:
CSS Selectors
There are a variety of selectors that we can use to change properties of our html elements. We will focus on 3 essential selectors:
- Type Selector
- Class Selector
- ID Selector
Type Selector
Type Selector allows us to select elements and apply properties to all the elements with that name. For example, if I wanted all paragraph text <p> to be blue, I could write in my css file:
To choose a type selector, I only write the name of the element such as <p>, <h1>, <a>, etc.
Class Selector
Class selector allows us to assign properties to a class of elements. Class selectors are used for elements that appear multiple times within our document that we want to have consistent styling.
For example, if I had a particular type of link I always want to be green, I could label that link in my html with a class identifier:
I create a class by using the keyword class within the opening carrot brackets of my element. I then assign my class name by using an equal sign = and writing the name within quotations ” ”
In my CSS file, I can then access the class by using a period followed by the class name:
I can use the class name on any element that I want to be green.
ID Selector
ID selectors are similar to a class selector in that they use a unique identifier. However, the ID selector is often used for one off or single cases where I want a unique set of styling for a particular element.
For example, if I wanted a particular image to be blurry, I could give the image and id name:
<img id = "blurry_image" src = "images/Cute_dog.jpg" alt = "Photograph Cavalier King Charles Spaniel puppy below a flowering bush"></img>
id within the opening carrot brackets of my element. I then assign my id name by using an equal sign = and writing the name within quotations ” ”
In my CSS file, I can then access the id by using a pound key # followed by the class name:
Color Properties
Background Color
The property of background-color will define the background color of your element. You can type the name of a color or use rgb values.
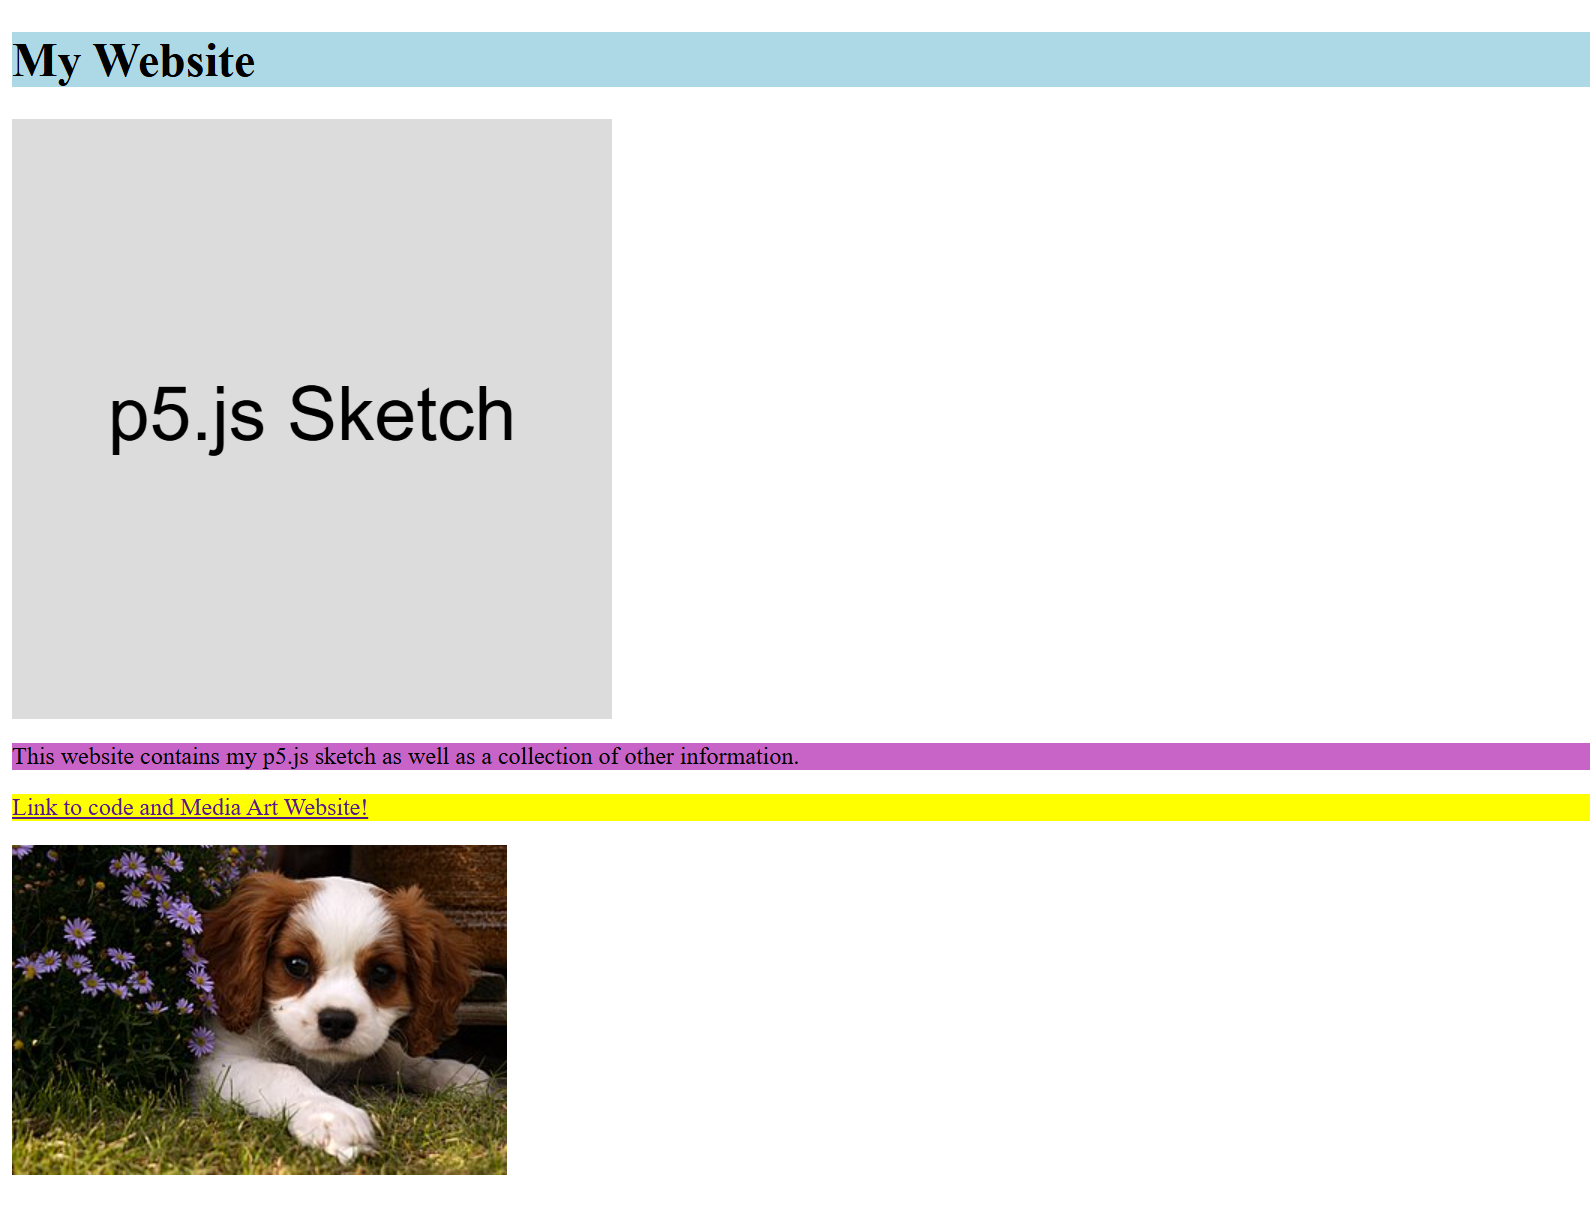
CSS:
h1 {
  background-color: lightblue;
}

.text_paragraph {
  background-color: rgb(200,100,200);
}

#linkparagraph {
  background-color: yellow;
}
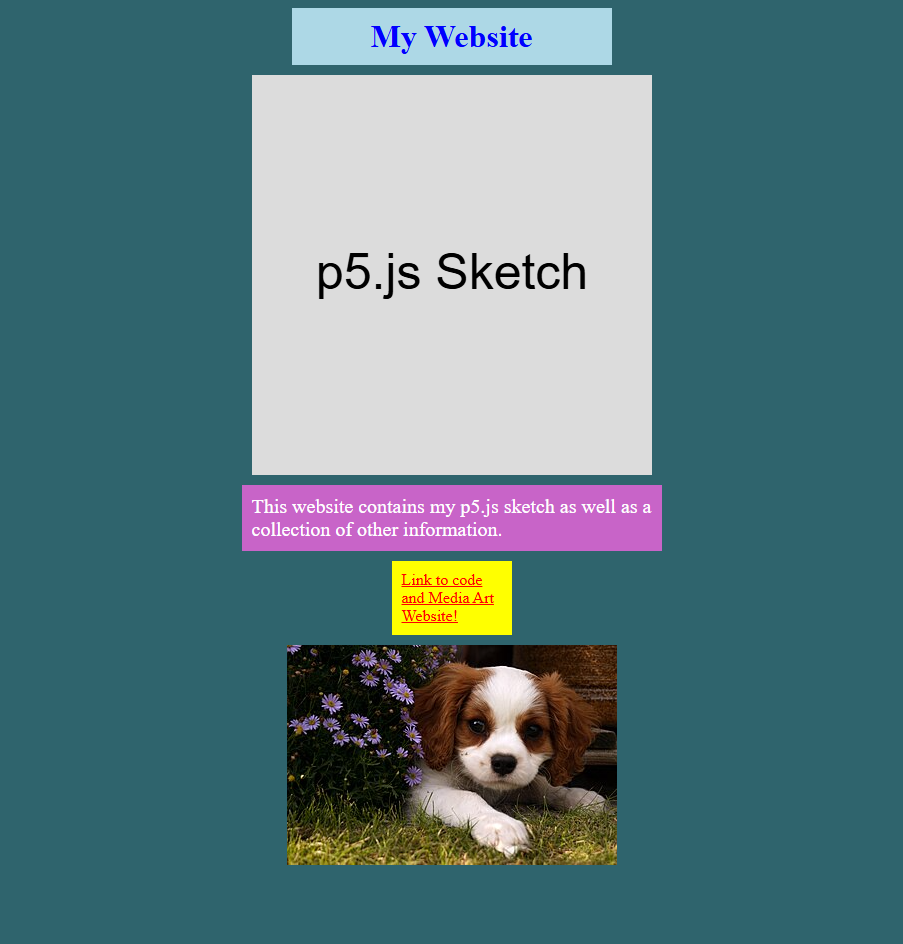
<body>
  <h1>My Website</h1>
  <main></main>
  <script src="sketch.js"></script>

  <p class="text_paragraph">
    This website contains my p5.js sketch as well as a collection of other information.
  </p>

  <p id="linkparagraph">
    <a href="https://code.vinnyroca.info/"> Link to code and Media Art Website!</a>
  </p>

  <p>
    <img src="images/Cute_dog.jpg" alt="Photograph Cavalier King Charles Spaniel puppy below a flowering bush"></img>
  </p>

</body>
Color
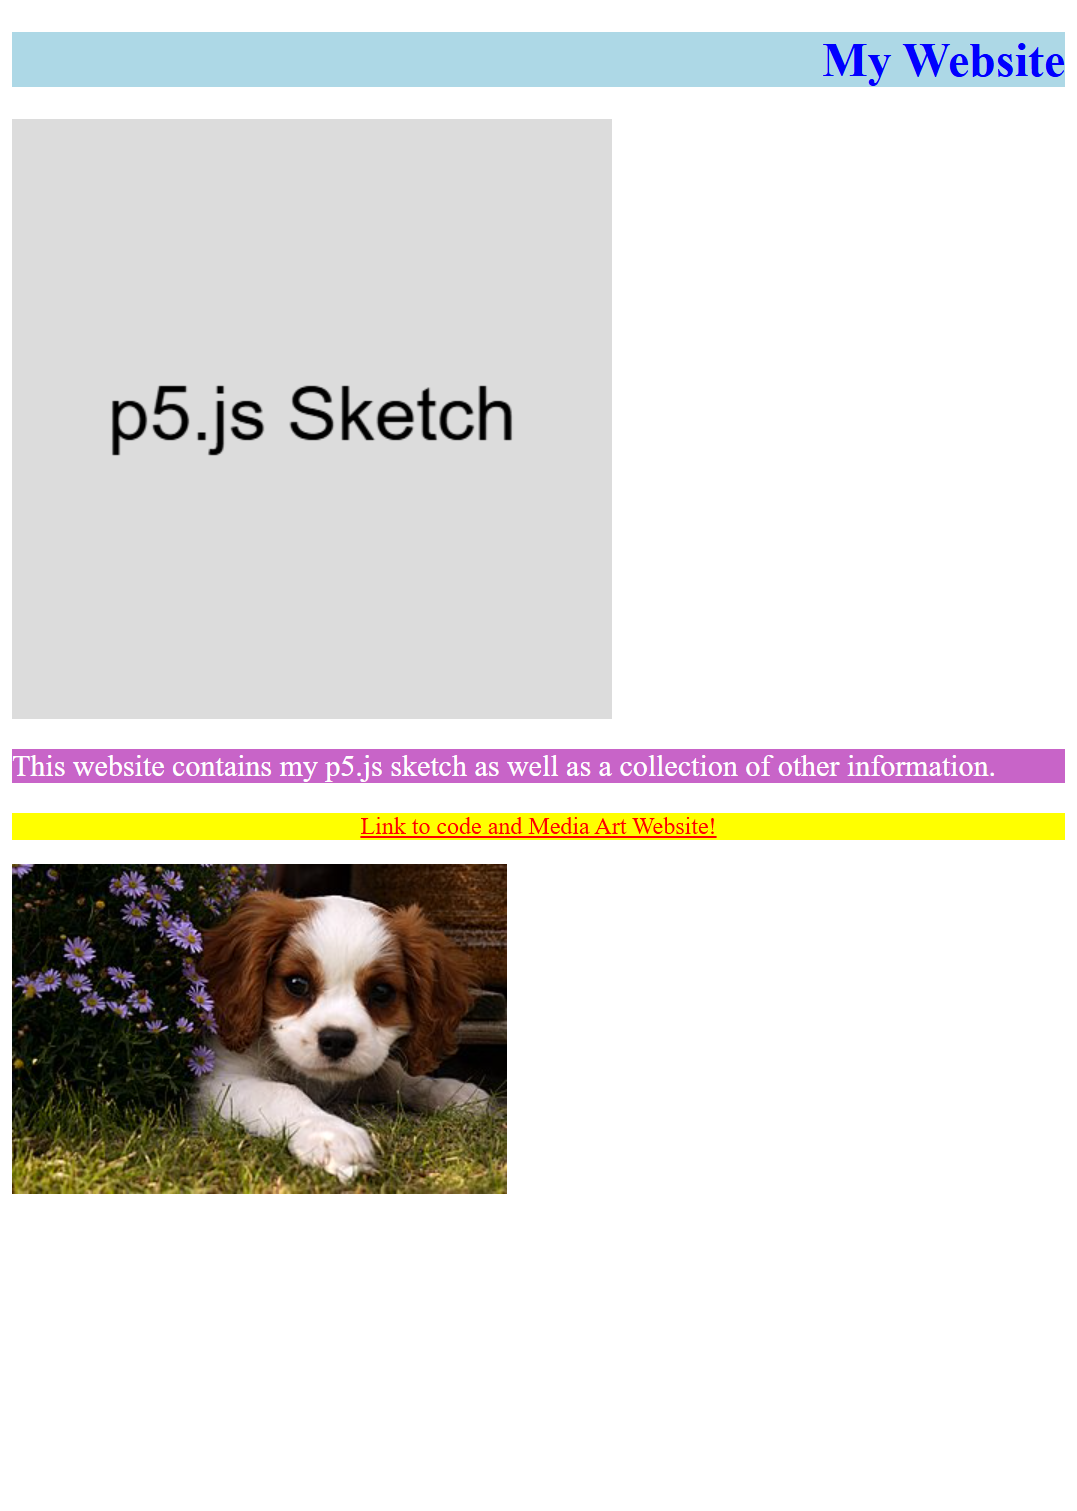
Color will change the foreground color of your element. This includes changing the color of text:
h1 {
  background-color: lightblue;
  color: blue;
}

.text_paragraph {
  background-color: rgb(200,100,200);
  color: rgb(255,255,255);
}

#linkparagraph {
  background-color: yellow;
}

a{
  color: red;
}
Opacity
Opacity will change the opacity of an element. Opacity can be assigned a value of 0.0 to 1.0 in which 1 is equal to 100 % opacity.
Example:
Text Properties
font-family
The property of font-family will alter the font of a particular element.
Five Generic font families of CSS:
- Serif
- Sans-serif
- Monospace
- Cursive
- Fantasy
A list of web safe fonts can be found here
- Arial (sans-serif)
- Verdana (sans-serif)
- Tahoma (sans-serif)
- Trebuchet MS (sans-serif)
- Times New Roman (serif)
- Georgia (serif)
- Garamond (serif)
- Courier New (monospace)
- Brush Script MT (cursive)
The value of the property font-family is assigned by listing the font name in addition to a generic font:
Font-size
The size of fonts can be styled using the property font-size. The easiest way to change the size of font is to set the font-size property equal to a pixel value such as 20px:
Other font properties
Text Alignment
The text-align property controls the horizontal alignment of text.
text-align values:
leftrightcenterjustify
h1 {
  background-color: lightblue;
  color: blue;
  text-align: right;
}

.text_paragraph {
  background-color: rgb(200,100,200);
  color: rgb(255,255,255);
  font-size: 20px;
  text-align: left;
}

#linkparagraph {
  background-color: yellow;
  text-align: center;
}
vertical-align will align text vertically within a box. vertical-align documentation
Link Styling
Links can be styled to have different rules for when a link is visited, hovered over, or active.
For more information on link styling visit here
Boxes
Within CSS, it is important to think of all elements as boxes. Each paragraph, header, image, etc, can be considered a box.
Width and height
The width and height of each box can be controlled with a width and height property:
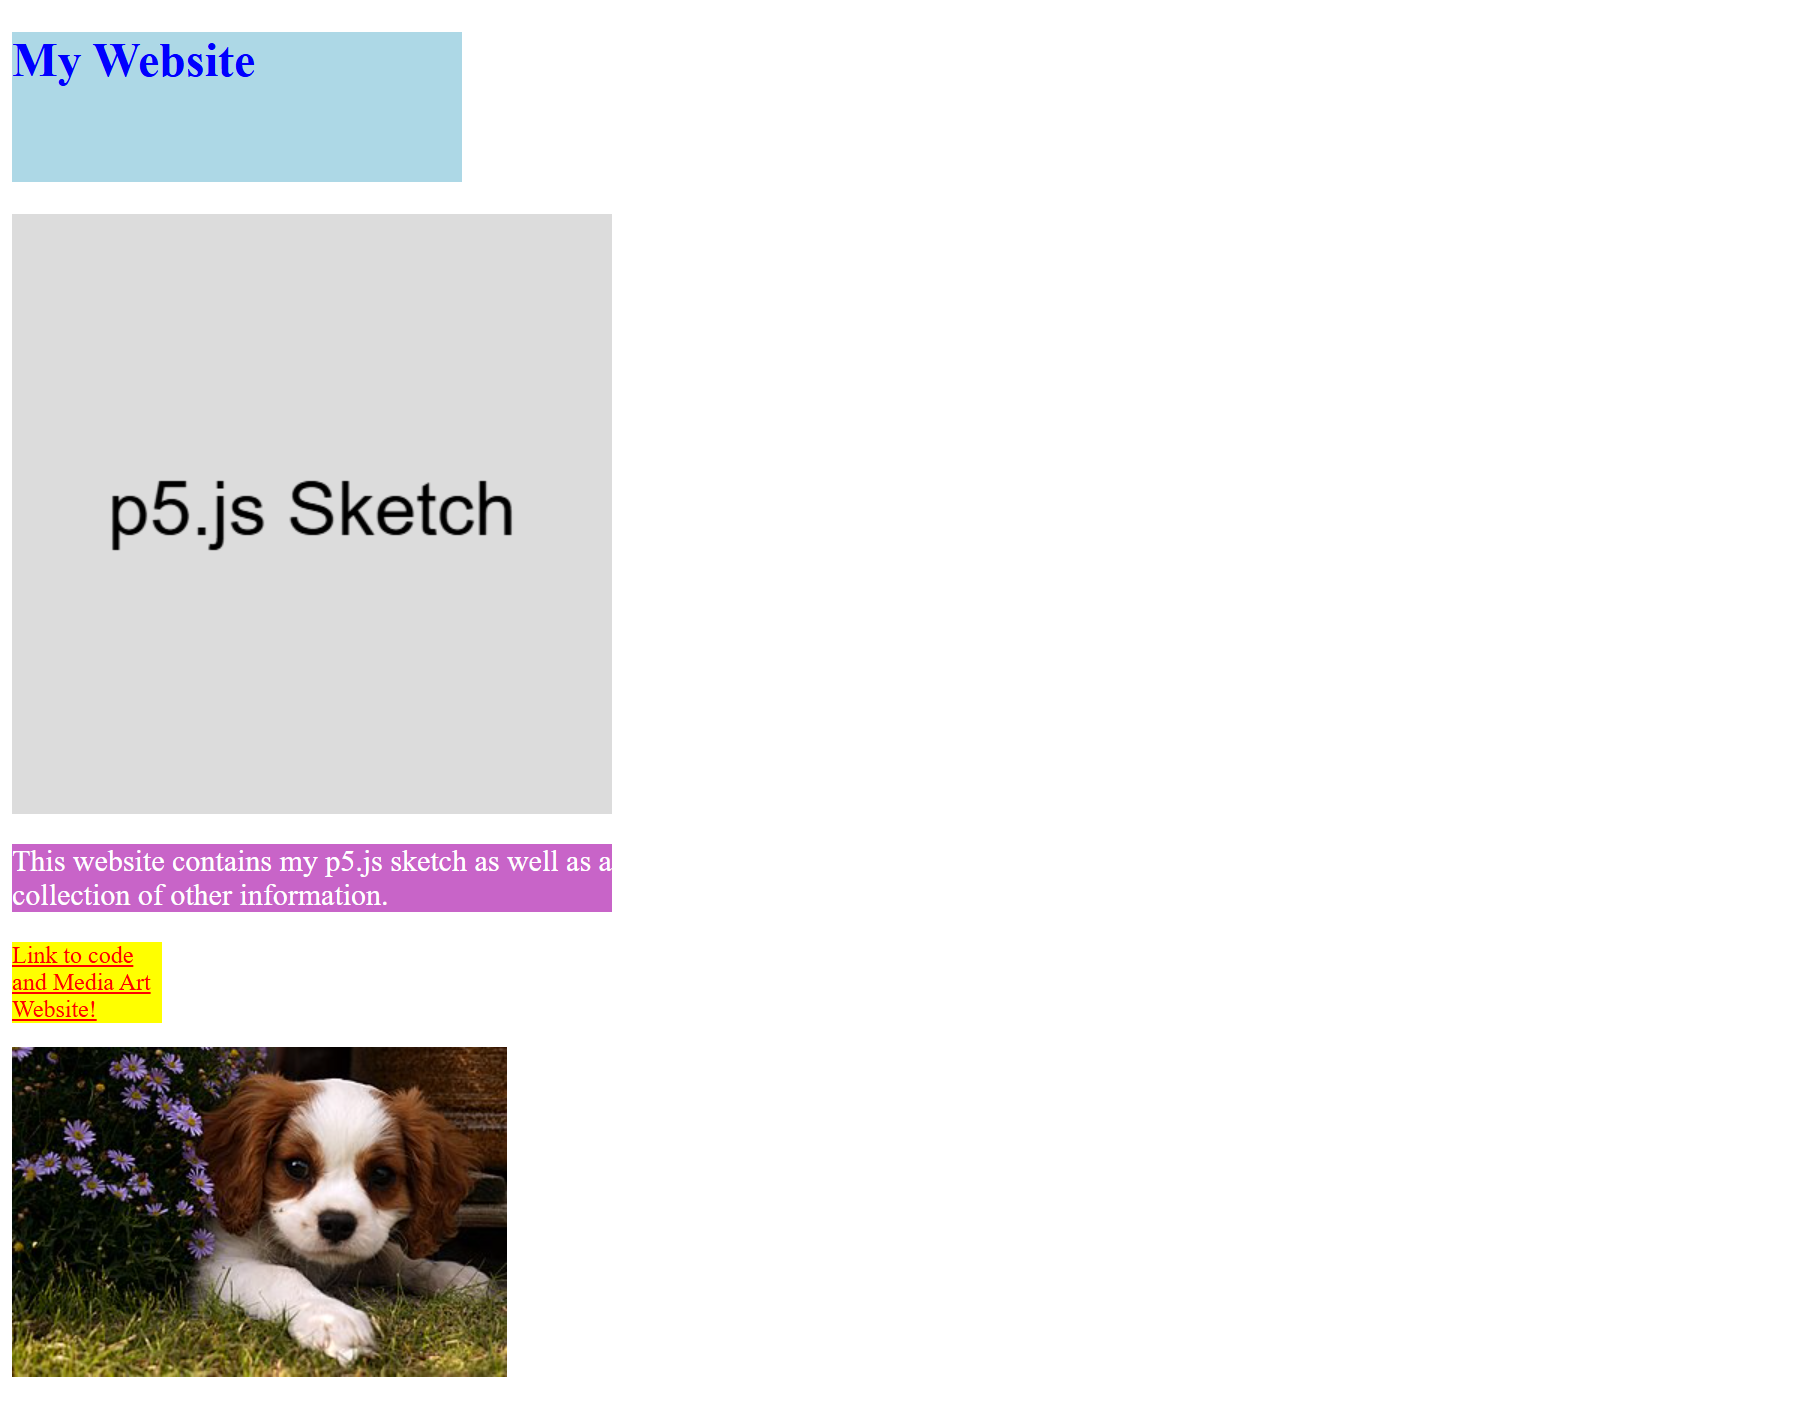
h1 {
  background-color: lightblue;
  color: blue;
  height: 100px;
  width: 300px;
}

.text_paragraph {
  background-color: rgb(200,100,200);
  color: rgb(255,255,255);
  font-size: 20px;
  width: 400px;
}

#linkparagraph {
  background-color: yellow;
  width: 100px;
}
Margin
margin will change the spacing around a box: reference
Padding
padding will change the spacing internally: reference
h1 {
  background-color: lightblue;
  color: blue;
  width: 300px;
  vertical-align: middle;
  padding: 10px;
  text-align: center;
}

.text_paragraph {
  background-color: rgb(200,100,200);
  color: rgb(255,255,255);
  font-size: 20px;
  width: 400px;
  padding: 10px;
}

#linkparagraph {
  background-color: yellow;
  width: 100px;
  padding: 10px;
}
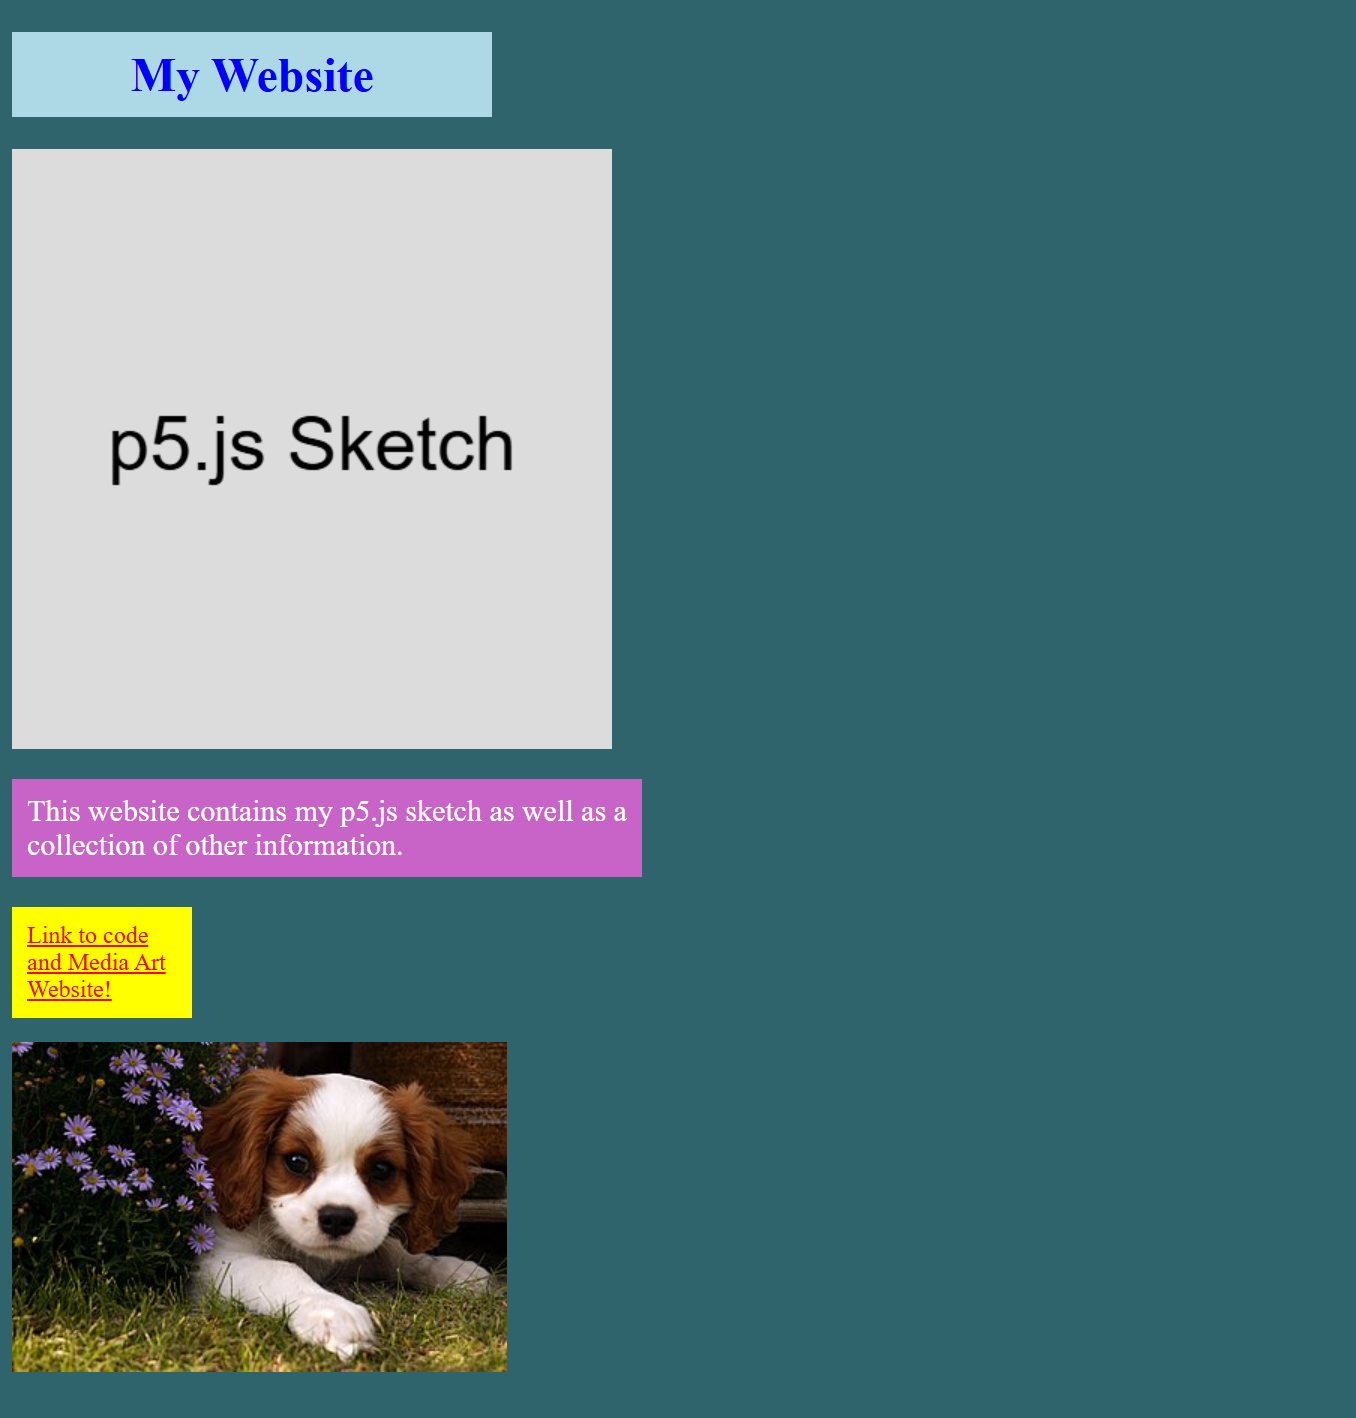
Center Boxes
The easiest way to center an element, is to set the margin property of an element to auto
canvas {
  display: block;
  margin: auto;
  margin-bottom: 10px;
}

h1 {
  background-color: lightblue;
  color: blue;
  width: 300px;
  vertical-align: middle;
  padding: 10px;
  text-align: center;
  margin: auto;
  margin-bottom: 10px;
}

.text_paragraph {
  background-color: rgb(200, 100, 200);
  color: rgb(255, 255, 255);
  font-size: 20px;
  width: 400px;
  padding: 10px;
  margin: auto;
  margin-bottom: 10px;
}

#linkparagraph {
  background-color: yellow;
  width: 100px;
  padding: 10px;
  margin: auto;
  margin-bottom: 10px;
}

#imageparagraph{
  margin: auto;
  text-align: center;
}